When you order high-visibility clothing, the class shown on the label is one of the first things to check. It tells you how much fluorescent background material and reflective tape a garment has, and therefore how visible the wearer is in daylight and at night. For importers and distributors, getting the class right matters: the wrong class can mean a product that does not suit the end user’s job, a shipment that fails a customer’s inspection, or stock that is hard to sell in a particular market. This guide explains Class 1, Class 2 and Class 3 in plain language, and how to choose between them.
What Determines a Hi-Vis Class?
A garment’s class is mainly determined by two things: the area of fluorescent background material — usually bright yellow, orange or red — and the area of retroreflective tape, the silver-grey strips that shine back when headlights hit them. The higher the class, the larger these areas must be. That is why a small vest can usually only reach a lower class, while a full jacket or a long-sleeve coverall, with tape on the torso, arms and legs, can reach the highest class. Colour alone does not decide the class. A bright vest with only a thin strip of tape is not the same as a garment with wide tape bands around the body. When you compare products, look at both the fluorescent area and the tape, not just the colour.
Class 1: For Low-Risk, Low-Speed Work
Class 1 is the lowest level of visibility. It needs the smallest area of fluorescent material and reflective tape. It is generally used where workers are well separated from moving vehicles, traffic moves slowly, and the work area is well lit. Typical examples are warehouse work, parking attendants in quiet areas, and delivery staff working away from fast traffic. For buyers, Class 1 garments are usually lighter, cooler and cheaper, which makes them attractive for indoor or low-risk use. They are not a good choice for road work or any job near fast-moving traffic.
Class 2: The Most Common Choice
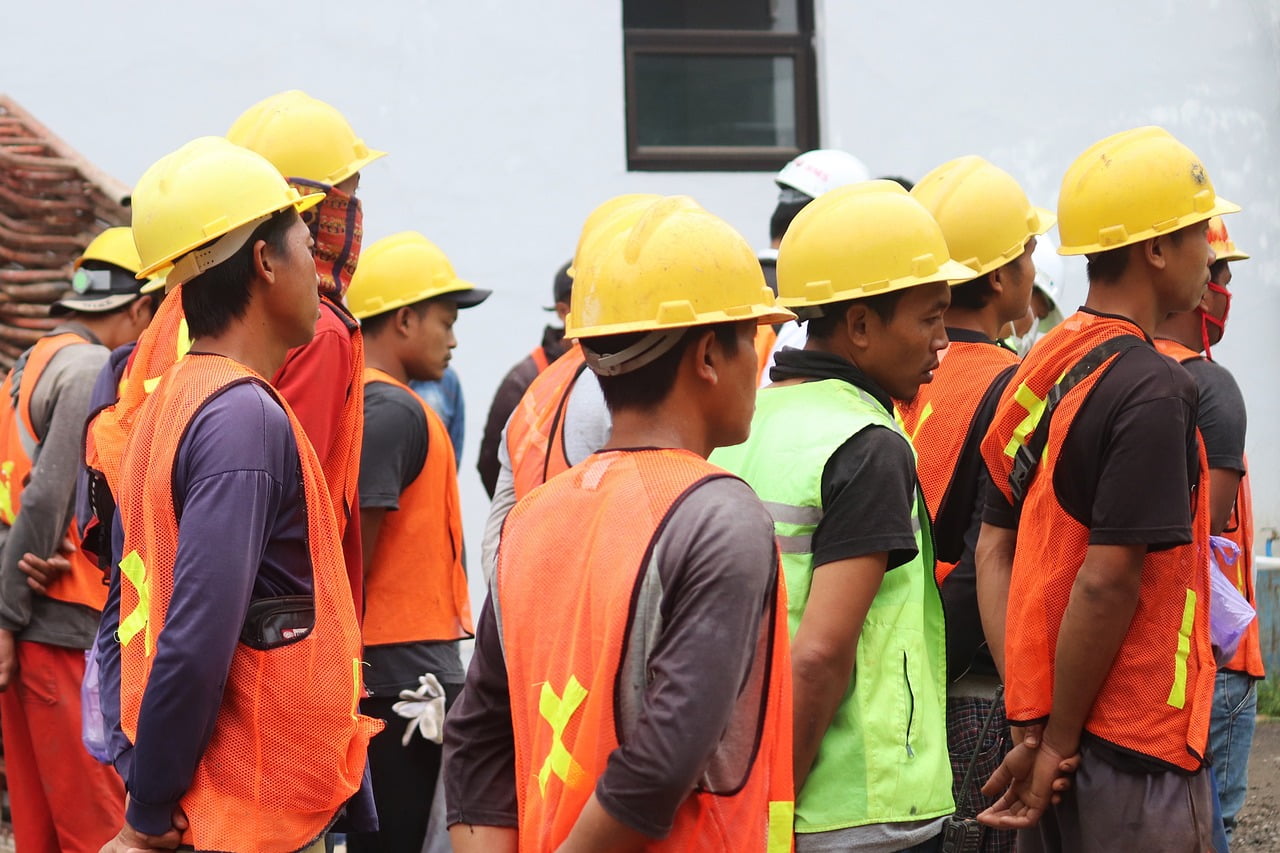
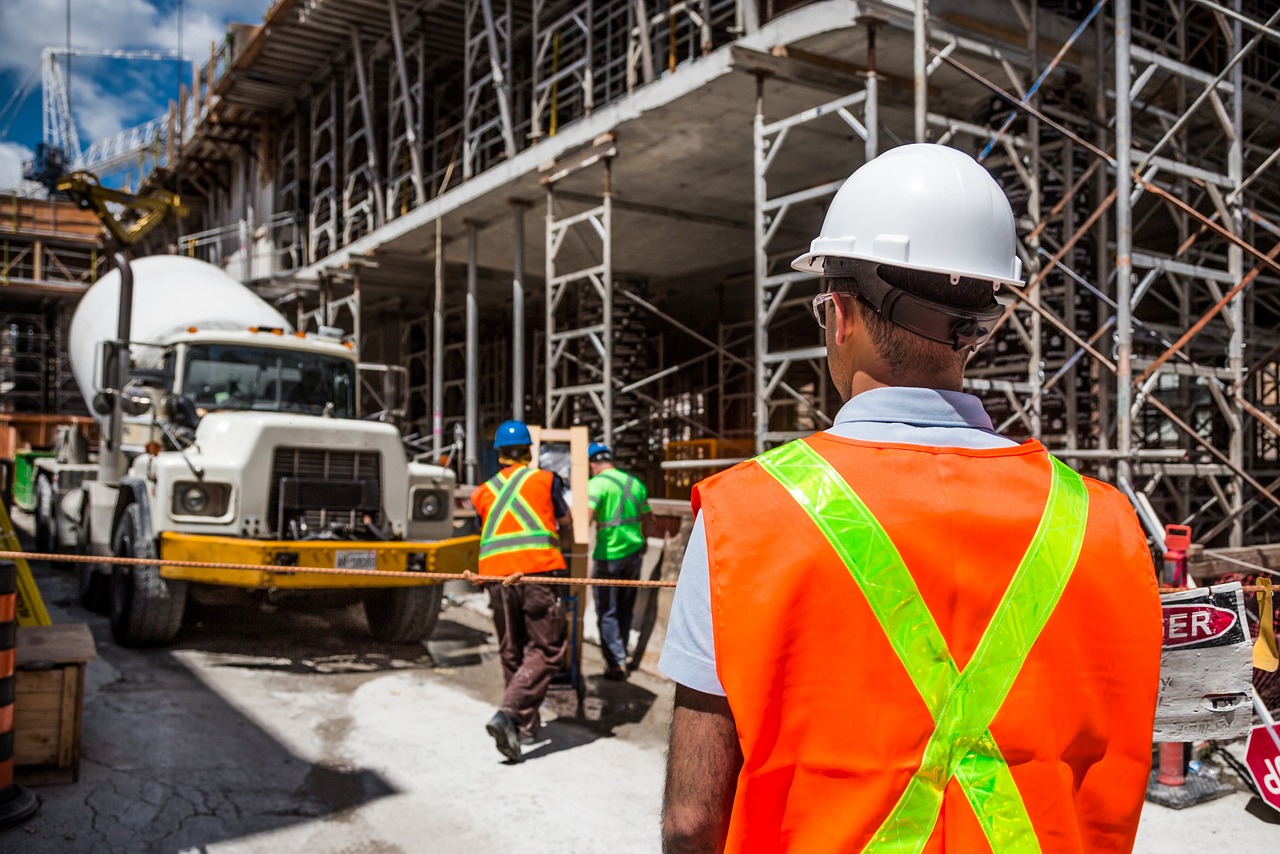
Class 2 is the middle level and the most common choice for general outdoor work. It needs considerably more fluorescent material and reflective tape than Class 1, so the wearer is easier to see from a greater distance, in daylight and after dark. You will see Class 2 vests, shirts and jackets on construction sites, in logistics and warehousing, at airports, and on road maintenance crews working near traffic that moves at moderate speed. If you are not sure which class your customers need, Class 2 is often a safe starting point — but “often” is not the same as “always”. Check the working conditions first, and do not assume that one class fits every job in a market.
Class 3: Maximum Visibility for High-Risk Work
Class 3 provides the highest level of visibility. It needs the largest areas of fluorescent material and reflective tape, and the tape must be placed so the wearer can be recognised as a person from all directions — typically bands around the torso and around the arms or legs. It is intended for workers who are close to fast-moving traffic, work at night, or work in poor weather or low light. Examples include highway construction, emergency response and road work after dark. A Class 3 garment is usually a jacket, a coverall or a two-piece set, because a vest alone rarely has enough material to reach this level. When a customer asks for the highest visibility, make sure the whole outfit — not just the vest — meets the level they need.
How to Choose the Right Class for Your Market
Before you place an order, match the class to the job, not to the cheapest price. Ask these four questions:
- How fast is the traffic nearby, and how close do workers get to it? Faster traffic and shorter distances call for a higher class.
- When and where is the work done? Night work, dawn and dusk, rain and fog all reduce visibility, so they push the choice upward.
- What does the wearer actually do? A worker who bends, carries loads or moves between vehicles needs tape that stays visible from every angle.
- What do local rules and the end customer require? Requirements differ by country and by client, so check them before you order, and check whether the product meets the relevant standard when sourcing.
Common Mistakes When Ordering by Class
Buyers run into the same problems again and again:
- Choosing by price alone. The cheapest vest may be a lower class than the job needs, and replacing it later costs more than ordering correctly the first time.
- Assuming any vest is Class 3. Most vests are Class 2 at best; reaching Class 3 usually needs sleeves, legs, or a matching jacket and trousers.
- Forgetting that size affects the area. The smallest sizes have less material, so confirm that the class holds across the size range you are ordering.
- Ignoring tape placement. Tape that is covered by a tool belt, a bag strap or a jacket will not help, however wide it is.
What to Ask Your Supplier Before You Order
Before you confirm an order, ask your supplier for clear answers in writing:
- What class is this garment, and how was it assessed?
- How much fluorescent and reflective material does it use, and where is the tape placed?
- Can you share test reports or product information for the relevant standard?
- Does the class hold across all sizes in the order, including the smallest?
- How should the garment be washed and stored so it keeps its visibility?
Conclusion
Hi-vis classes are not marketing labels. They are a practical way to match a garment to the risk of the job. Choose the class by the work, the traffic and the light — not by habit — and confirm it in writing before you order. A clear specification in your order helps you avoid returns, failed inspections and stock that does not sell.
To discuss hi-vis clothing for your market, contact SUM SAFETY at sa***@*******ty.com or visit www.SumSafety.com.